Cabinets bear the brunt of kitchen mayhem. They’re the silent victims of cooking grease, food splatters, steam, and sticky fingers. All too soon, your showstopping, brand new custom cabinets become dingy, dull, and streaked.
Sound familiar?
After designing and crafting a beautiful and functional kitchen space, how do you keep it clean?
This article will provide detailed instructions on how to properly clean and maintain your kitchen cabinets without causing damage to the finish.
Roll up those sleeves and scroll down this page to get cleaning!
Cabinet Cleaning Supplies
Before you begin, be sure to have the following items handy:
- Gentle Dish Soap
- Water
- Spray Bottle
- Microfibre Cloth or Soft Rag (2-3)
- Glass Cleaner
This is everything you need to clean your cabinets like a pro.

Step One: Make a Cabinet-Friendly Cleaning Solution
First and foremost, it’s crucial that you use a gentle cleaning solution to clean your kitchen cabinets.
Harsh chemicals and strong detergents can cause serious damage to your cabinet finish or paint.
Many online sources recommend the cleaning "hack" solution of dissolving Tide powder or bleach in hot water. While this concoction may work elsewhere in your home, do NOT try it on your cabinets!
Instead, prepare a gentle cleaner by mixing one part mild dish soap with two parts hot water. The hot water helps to soften the grunge and grease so you can effortlessly wipe away the mess.
The most effective way to use this cleaning solution is to pour the mixture into a spray bottle. However, don't use the spray bottle to spray directly onto the cabinets. Doing so can create a "halo" mark on your cabinet doors that's hard to remove. Instead, spray the cleaning solution onto the cloth.
Step Two: Wipe Down the Cabinets
Next, use your cleaning solution to wipe down the cabinets.
Start with a clean microfibre cloth. The cloth must be thoroughly clean. Even remnants of strong detergents and soaps from previous uses may leave streaks or shiny spots on your cabinet finish.
We recommend purchasing a new cloth and using it exclusively for your cabinets.
Spray the cleaning mixture onto a microfibre cloth or a soft rag until it's damp (not drenched).
Remember, moisture is the worst enemy of any finish. Too much moisture can damage the cabinet’s paint or finish by causing discolouration, fading, peeling, or warping. If you wipe your wood cabinets with a wet (not damp) cloth, water might run behind the rails and cause the product to swell, too. Water damage like this happens quickly.
With your damp cloth, wipe each cabinet door from top to bottom. Be sure to pay careful attention to any trim or moulding where dust and grime tend to accumulate.
As you do so, don’t forget to wipe all handles, knobs, and the inside of the cabinet doors.
Spritz more cleaning solution onto your cloth as needed, but never let the cloth get wet enough to drip. If you find the cloth getting too wet, simply squeeze the excess moisture into the sink.
Step Three: Pay Attention to Cabinet Hinges
With a focus on the cabinet doors, the cabinet hinges often get overlooked.
Be careful that the cleaning solution doesn’t run into the hinges. Although the mixture is safe for stains, paints, and other finishes, it isn’t intended for cabinet hinges.
With all of your cleaning efforts, it would be a shame to cause accidental rust on the cabinet hardware.
To properly clean your cabinet hinges, simply use a dry microfibre cloth to gently wipe away dust and grime from the metal. If the hinges are particularly greasy, spray a drop or two of the cleaning solution onto your cloth and only scrub the problem spot.
Be sure to wipe the metal dry immediately afterward.

Step Four: Final Rinse of Cabinets
After wiping down the cabinets with your cleaning solution, it’s time to give the surface a final rinse to remove the residue of the cleaner.
To do so, use a very lightly dampened cloth with warm water. Work from top to bottom to ensure that no droplets are left behind.
Step Five: Wipe Cabinets Dry
Letting cabinets air dry after cleaning is a big no-no! This can cause damage to the finish, specifically bubbling or peeling.
It can’t be over-emphasized: cabinets must be kept dry. Use a soft dry cloth to dry all cabinet surfaces.
Step Six: Don’t Forget Glass-Front Cabinets
With the bulk of the cleaning done, the dirt on your glass inserts are probably more noticeable than ever.
Spray a clean cloth with a glass cleaner. Wipe the glass thoroughly on both sides to remove dried food splatters, grease, and other kitchen grunge.
Depending on how stubborn the mess is, you may need to tackle the spot twice. Even so, don’t use anything abrasive on glass.
Lastly, wipe the panels dry.
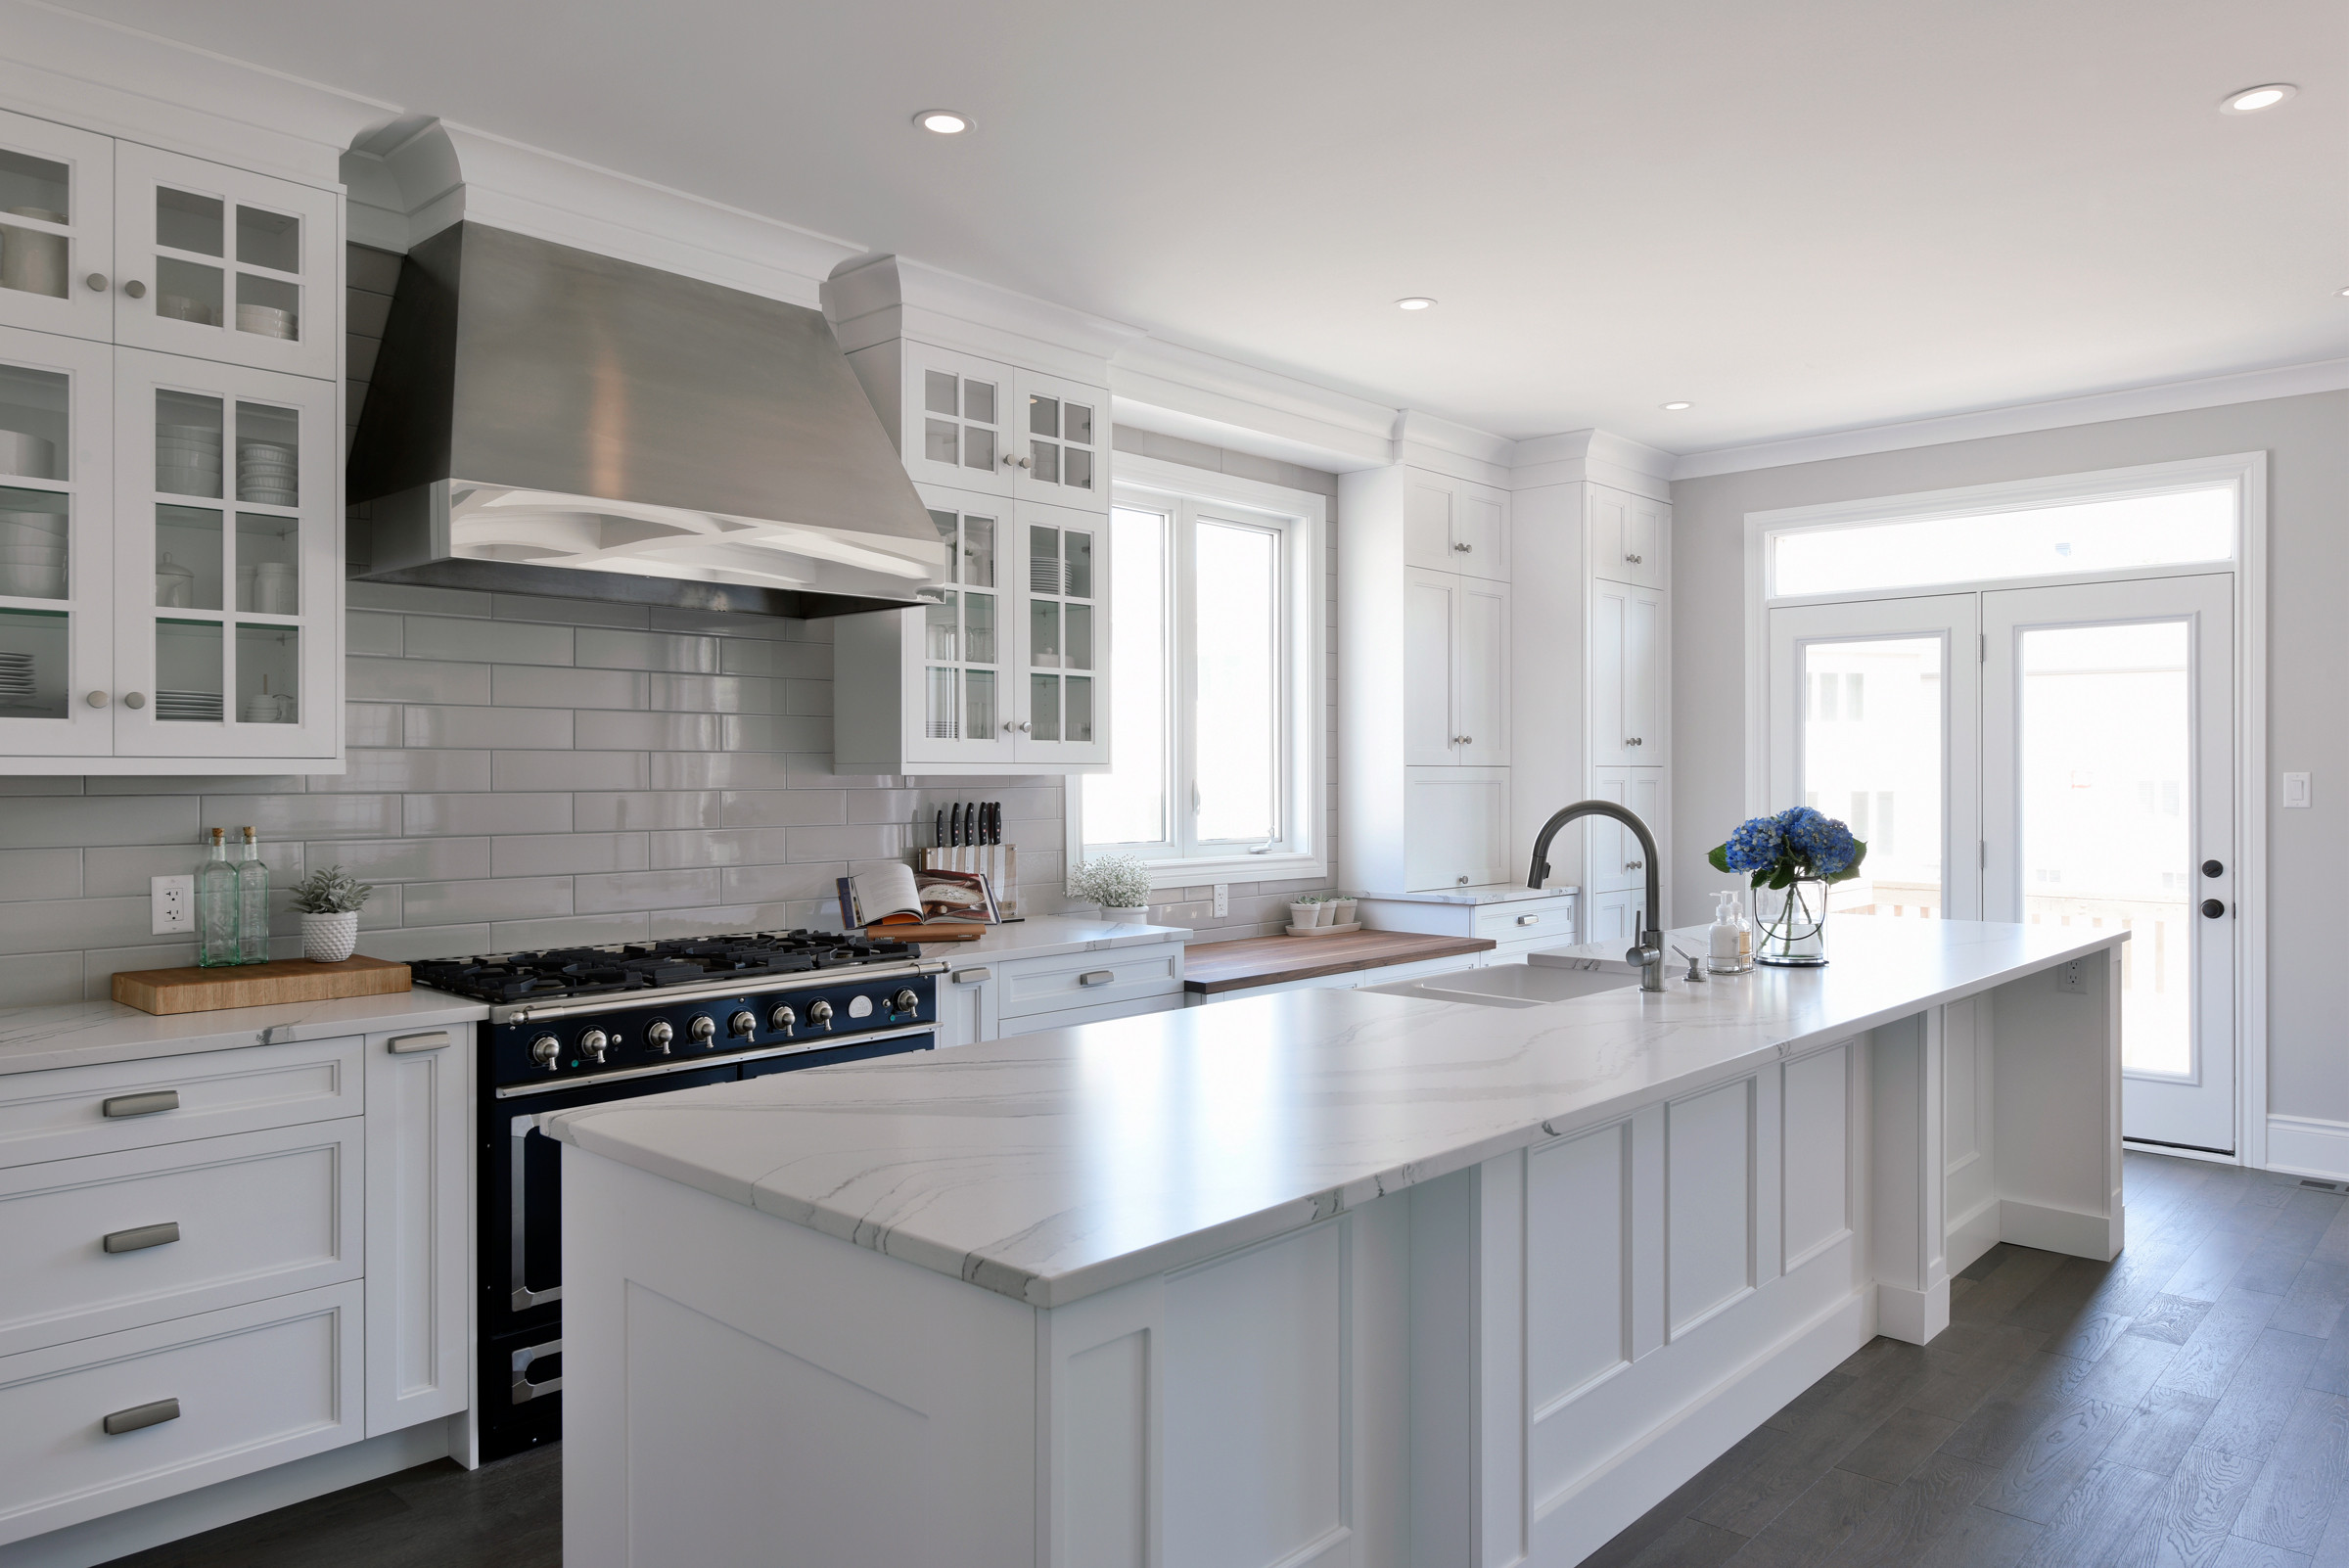
How to Maintain Clean Cabinets
After following these simple steps, your cabinets should look as good as the first day they were installed!
Perform this cleaning regimen as needed. Doing it regularly and consistently is the best way to avoid a big build-up of filth.

Regular Wipe-Down of Cabinets
Without performing the entire deep cleaning procedure, it’s a good idea to give your cabinets a quick wipe every couple of days or once a week.
After cooking, quickly take your cleaning solution and a microfibre cloth to wipe (and dry) the cabinet surfaces in close proximity to your stovetop. This will wipe away food and grease splatters as the mess is made, maintaining sparkling cabinetry day-to-day.
Dust the Cabinets Regularly
For mild and daily dust accumulation, use a soft dry cloth to clean the cabinet interior and exterior surfaces.
Without regular dusting, the grease and steam produced during cooking will cake onto the dust and accumulate even faster than normal.
If your cabinetry doesn't extend to the ceiling, it’s also important to dust the top of the cabinets. Of course, we know that dusting the top of your cabinets can be a particularly inconvenient task.
Our handy workaround: Line the top of your cabinets with wax paper. The wax paper will effectively trap all dust. That way, instead of dusting, all you have to do is simply replace the wax paper on the top of your cabinets.
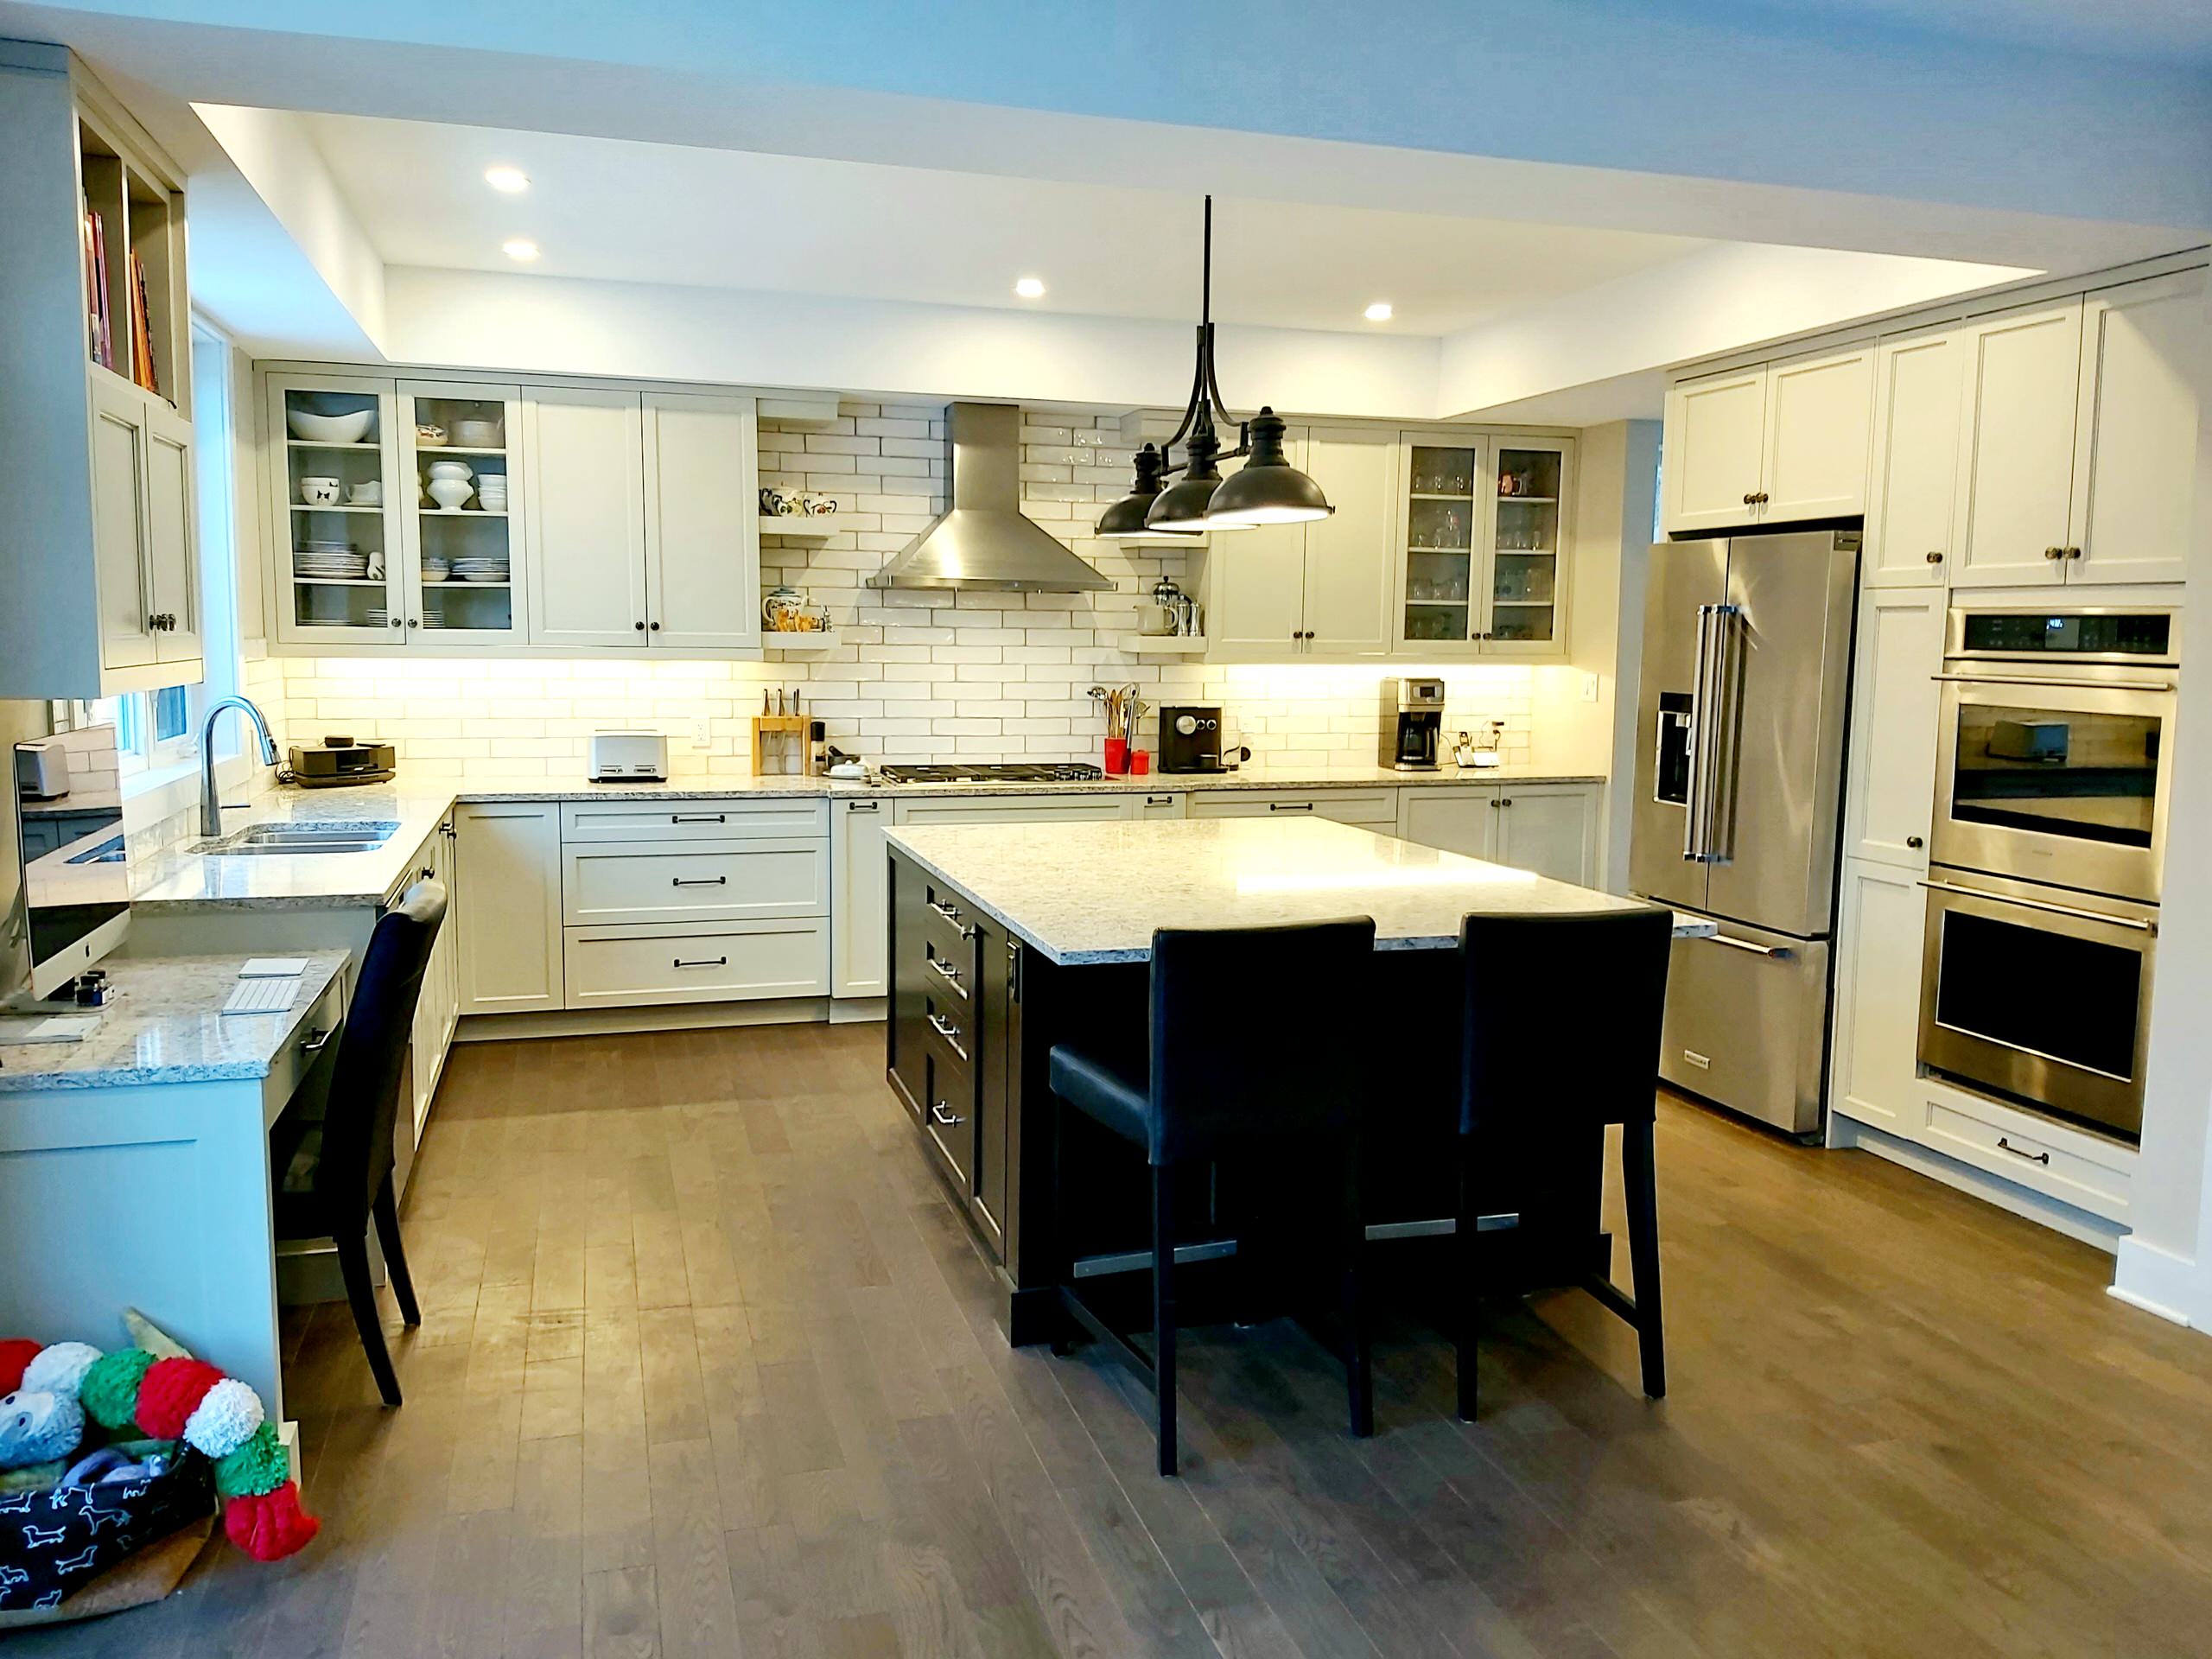
Don’t Skip Periodic Deep Cleaning
Finally, it's a good idea to perform a deep clean of all cabinet surfaces at least twice a year.
This involves completely emptying your kitchen cabinets, wiping down the shelves, inside surfaces, and cabinet exterior.
While you do so, why not take the opportunity to organize your kitchen cabinets? Read the article How to Organize Your Kitchen Cabinets for detailed instructions on how to effectively organize your cabinets to suit your space and lifestyle.

What’s Next?
While a good clean can revive kitchen cabinets back to their original form, sometimes cleaning can only do so much!
At Deslaurier Custom Cabinets, we’re known for crafting quality, functional, and customized kitchen cabinetry to match your unique requirements and lifestyle. If you’re craving a revived and rejuvenated kitchen cabinet design tailored to your personality and preferences, don’t hesitate to drop us a line.
Visit us at our local Ottawa location or request a consultation to get started working with our design team today.
Related Links:
- Stained vs. Painted Cabinets
- Best-Selling Kitchen Cabinetry Accessories
- What Does the Deslaurier Warranty Include?
.png?width=224&height=80&name=Final%20(3).png)


